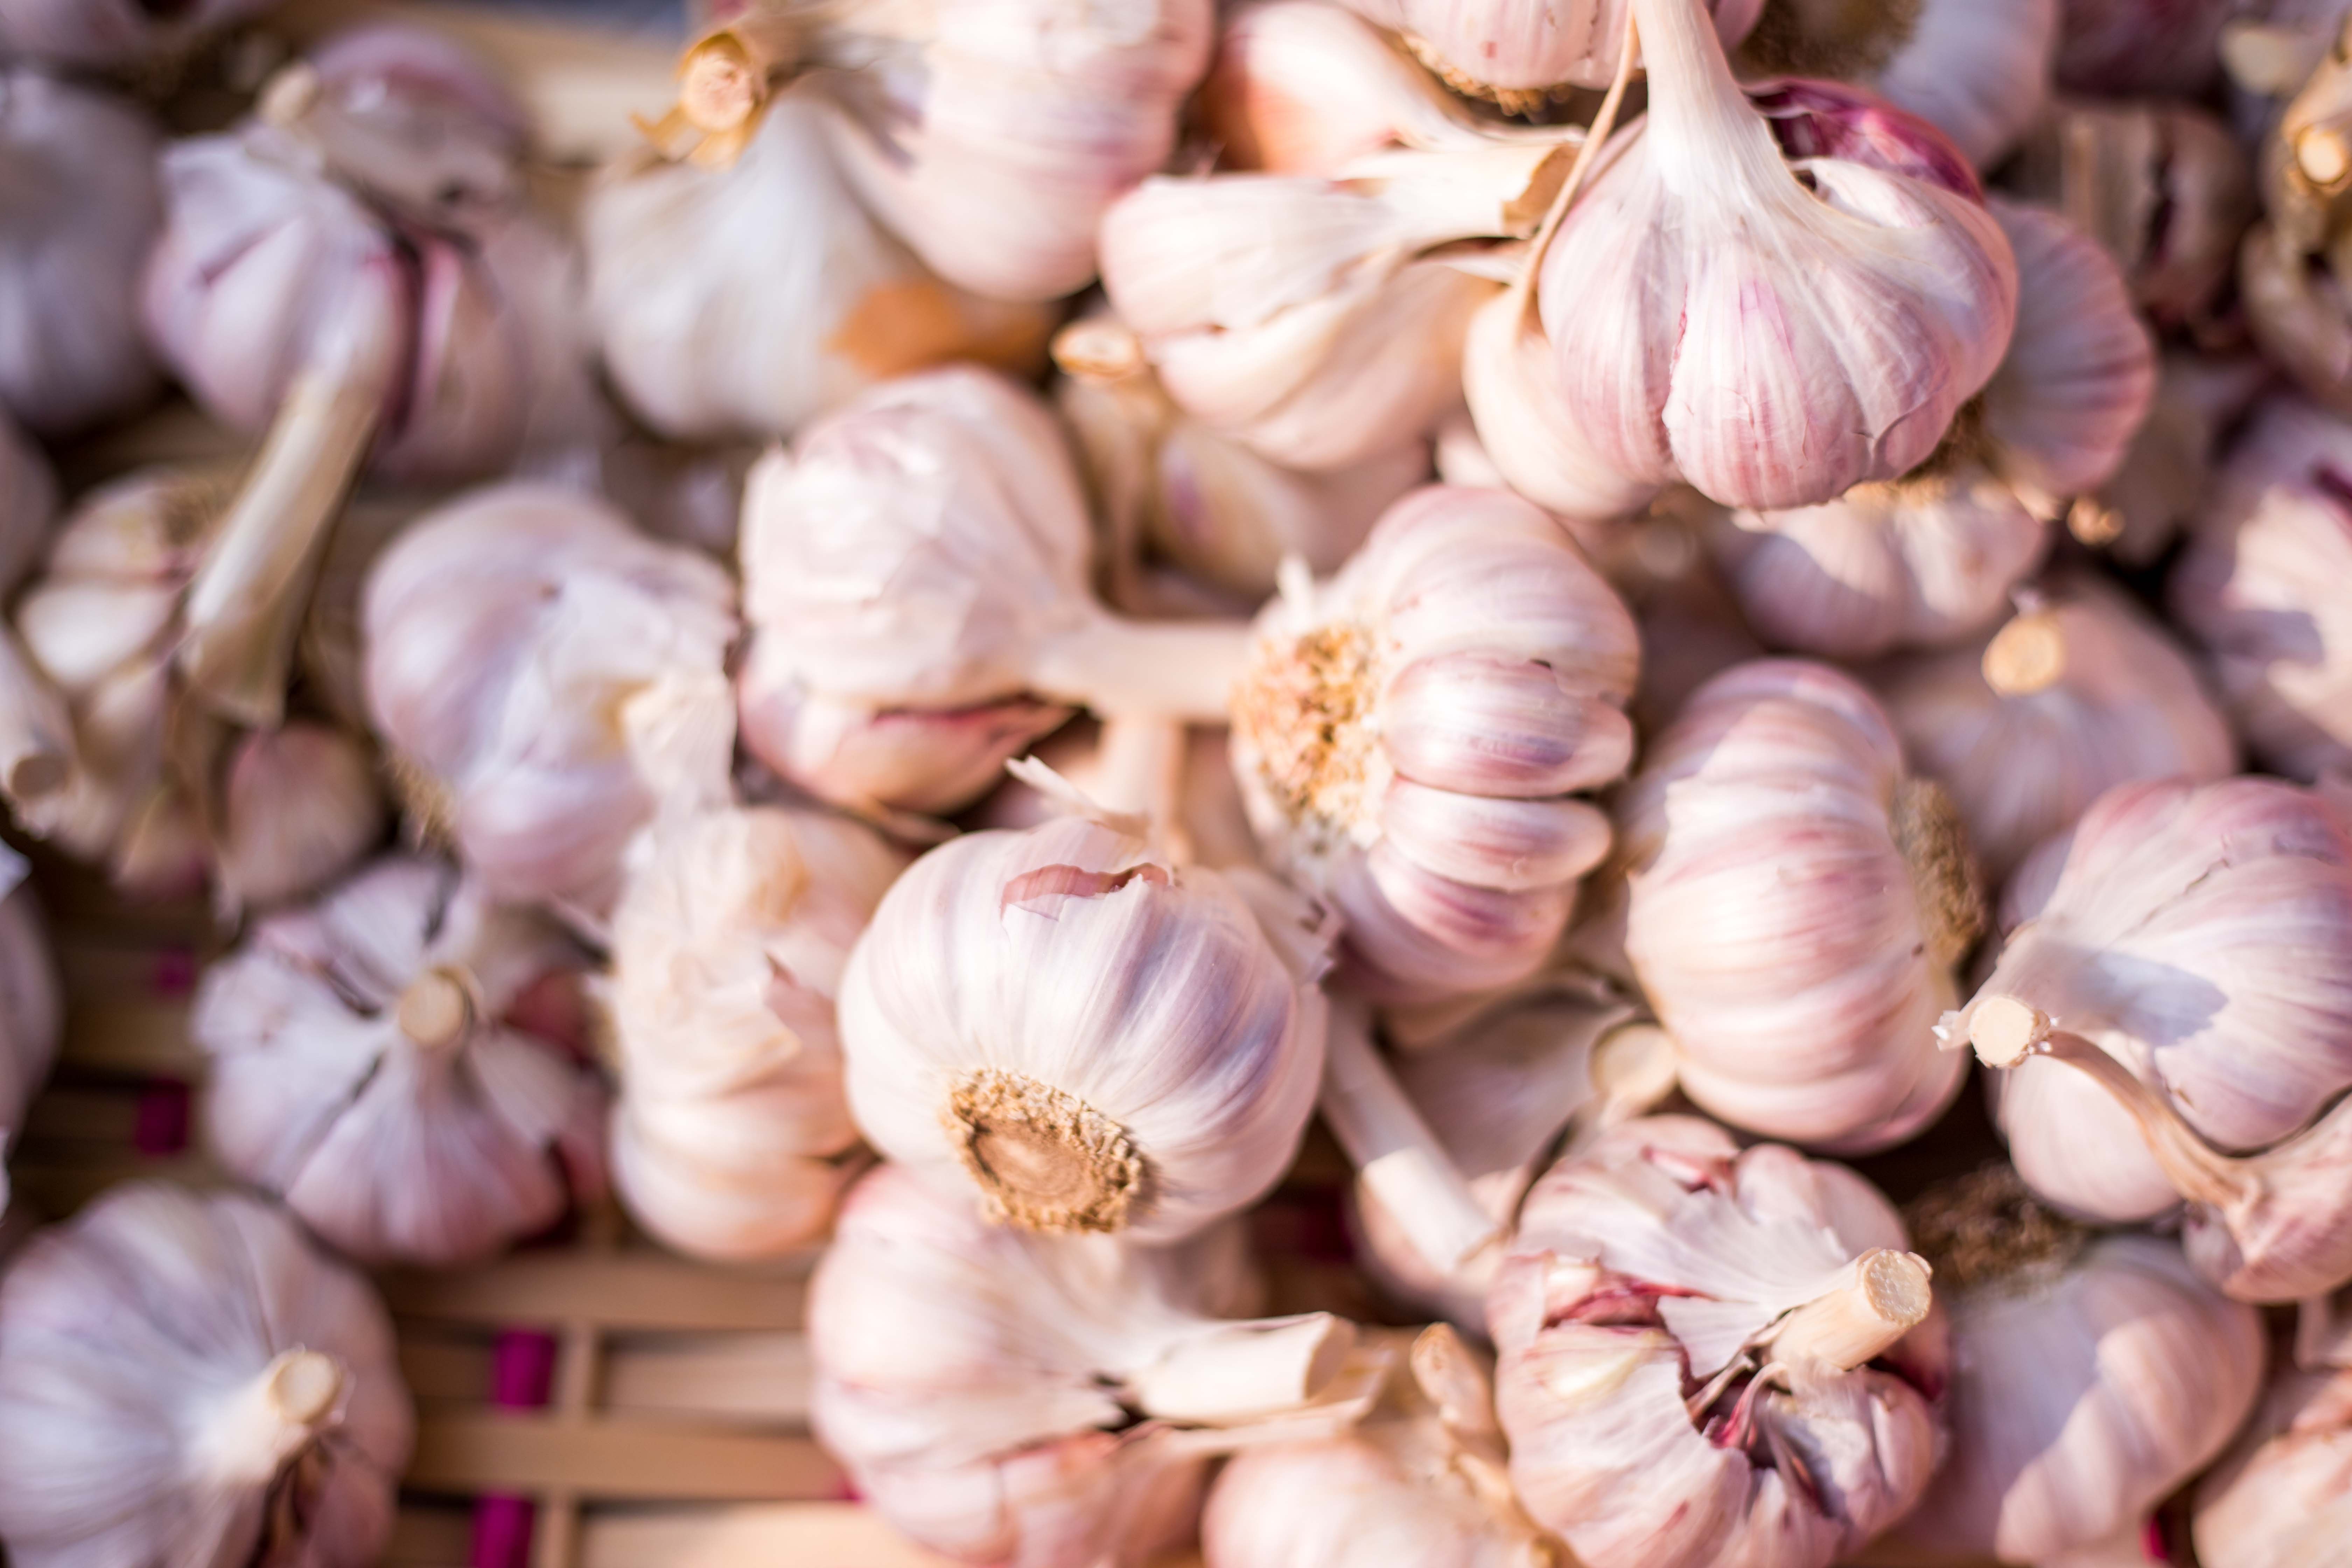
Garlic growing in your garden can be a rewarding and relatively simple task. Here’s a step-by-step guide to getting started:
- Selecting Garlic Bulbs: Purchase high-quality garlic bulbs from a local nursery or an online seed supplier. Make sure they are appropriate for your climate.
- Choosing the Planting Time: Garlic is typically planted in the fall or early winter, several weeks before the ground freezes. This allows the roots to grow before winter arrives. If you miss the fall planting window, you can plant garlic in early spring.
- Preparing the Soil: Garlic grows best in moist, well-drained soil. Make certain that the planting area gets plenty of sunlight. To enrich the soil with nutrients, break it up and add compost or well-rotted manure.
- Separating the Bulbs: Separate the garlic bulb into individual cloves, being careful not to tear the papery covering off each clove.
- Planting the Cloves: Plant each clove in rows, about 2 inches deep and 4 inches apart, with the pointed end facing up. To allow for proper growth, space the rows about 12 inches apart.
- Watering: After planting, thoroughly water the cloves to help the roots establish themselves. Ensure that the soil is consistently moist but not wet throughout the growing season.
- Mulching: Mulch the plants with straw or chopped leaves to help retain moisture, suppress weeds, and regulate soil temperature.
- Fertilizing: If your soil is deficient in nutrients, apply a balanced fertilizer according to the package directions. Garlic, on the other hand, typically does not require much additional fertilization.
- Weeding: Weeds must be removed on a regular basis to avoid competition for nutrients and water.
- Harvesting: Garlic is ready to harvest in late spring or early summer, when the leaves turn yellow and dry out. Using a garden fork, carefully dig up the bulbs, taking care not to bruise them. Allow the harvested garlic bulbs to cure for several weeks in a dry, well-ventilated area.
If you follow these steps, you should be able to grow healthy garlic in your garden. Enjoy the process!
The photo is from unsplash.com


